
How Oswald the owl doorstop evolved!
I am addicted... to my supermarkets new Butternut Squash and Honey Soup... delicious! I've eaten so much of it, I've become conscious of reusing all the plastic cartons that it comes in!!! Some have been used for craft storage - they stack really well and you can see whats inside without opening them.
But my favourite reuse for the soup carton has to be
Oswald - an Owl Doorstop...

Here's how to make your own one...
You will need


An empty soup carton, enough material to cover it and some felt scraps.
Buttons for eyes, sand or gravel to weight your dorrstop.
PVA glue and a brush to apply it. Super glue.
Scissors, marker pen, needle and thread.

Lay your fabric on a flat surface and use a marker pen to mark the top, bottom and one of the sides of the carton.


Slowly roll ithe carton along the fabric, marking top and bottom as you go and finish with the other side. You should end up with a slightly curved shape as in the picture below.


Draw around the lid of the carton twice and cut out all three pieces.
Turn the carton upside down. Lay one of the fabric circles on top.

Cut into the circle using small slits, this will help the top to fit nice and snugly.


Cover the sides of carton with PVA glue and glue on the main body piece of fabric. Turn up the right way and fill with sand/gravel/weighty substance. (I use play sand from my local DIY store).

Following the instructions for use, pipe some super glue into the rim of the lid, press on to the top of the carton and allow to dry.


Cover the lid with pva glue and stick on the other fabric circle.

Use a slip stitch in contrasting colour embroidery thread to fasten the bottom to the sides, to conceal the soup carton.

Turn upside down - CONGRATULATIONS! You have just created a nice solid body for your owl... now for the fun part, where your owls charachter starts to be revealed!
Play around with buttons, felt scraps etc to create an owl face that you are happy with.

I used buttons for eyes and felt for eyebrows, ears and beak. If you want to use the same shapes as I did then copy the template below.
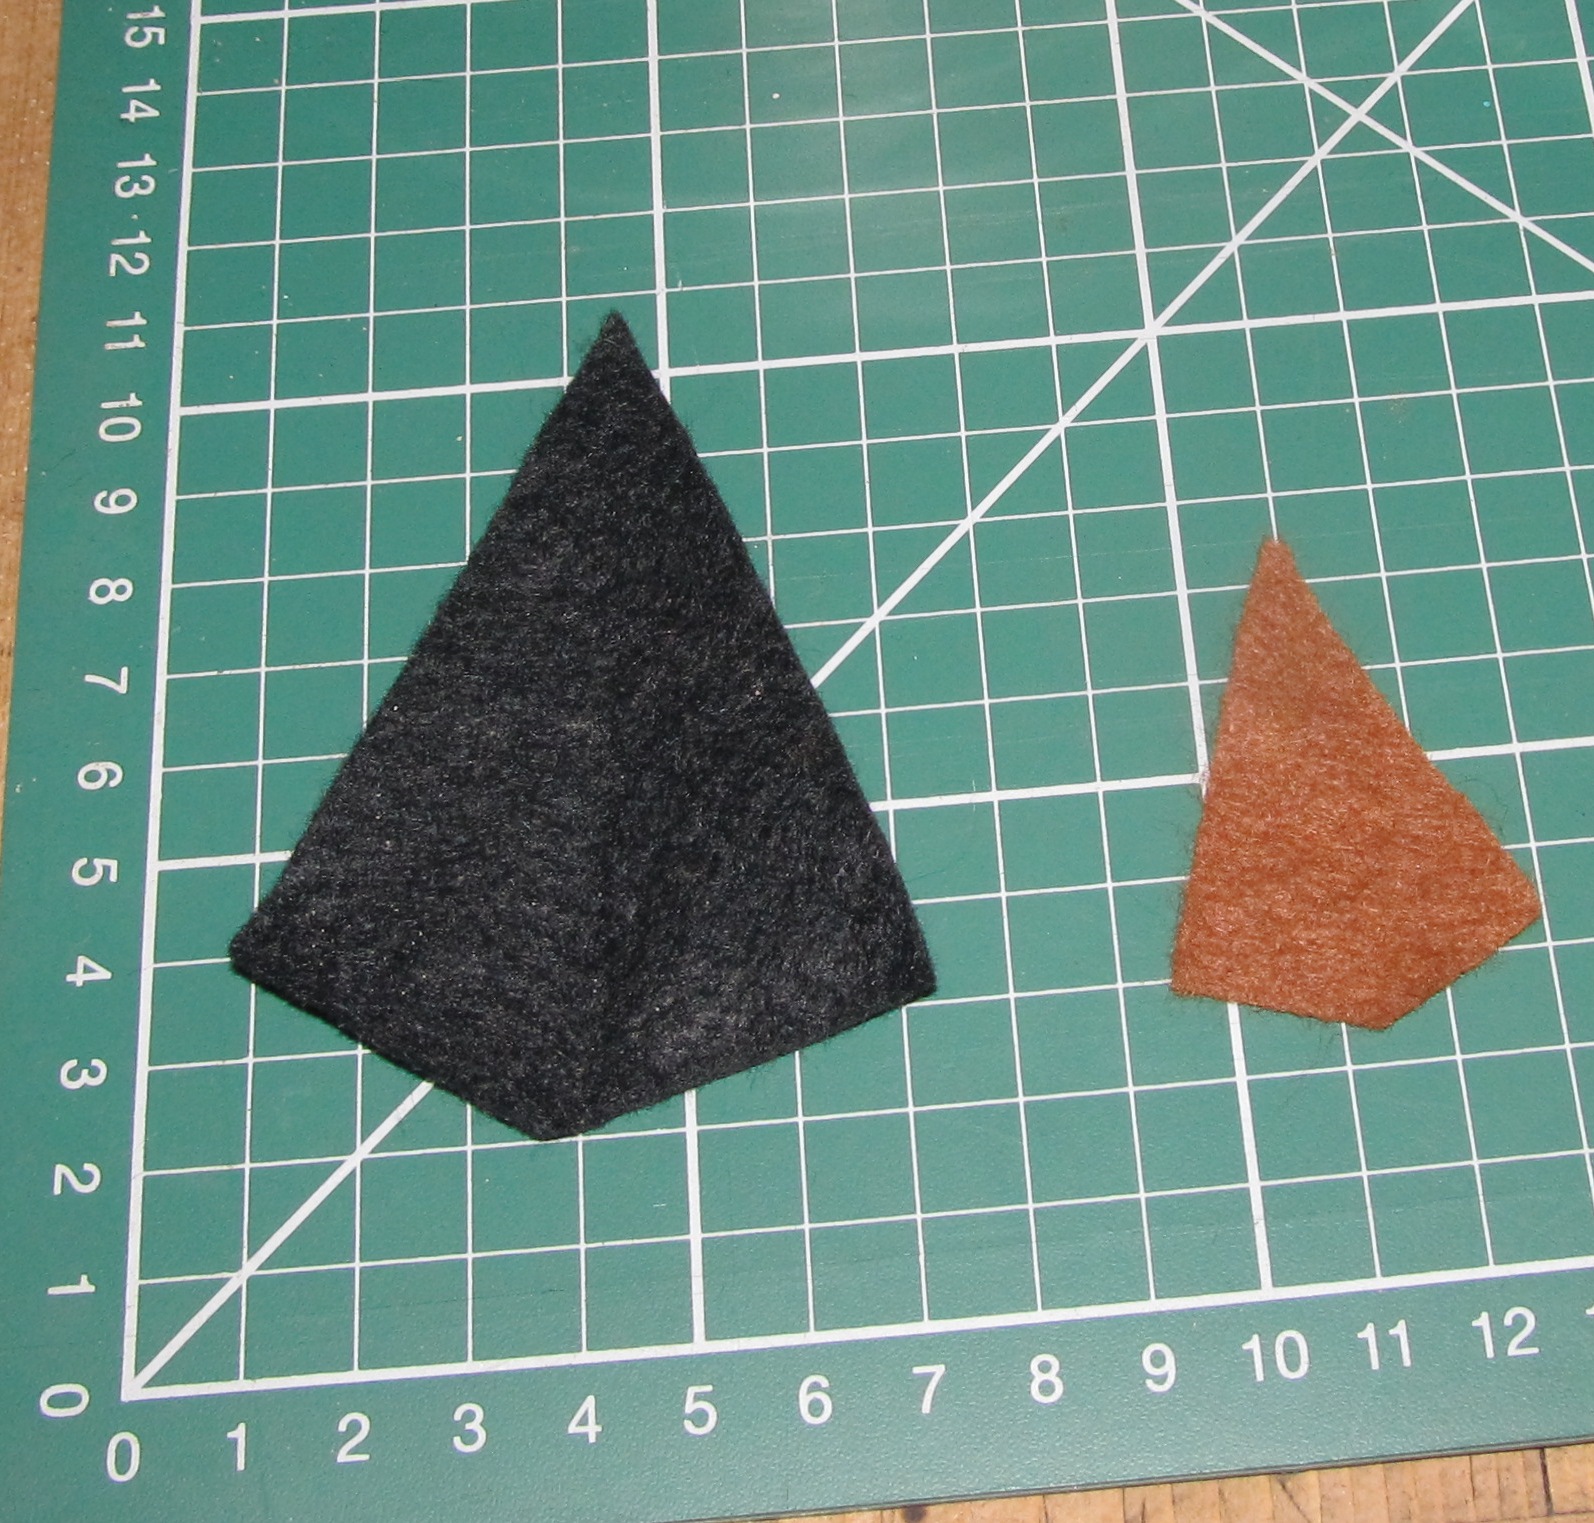
I cut two large shapes and one small shape from black and tan coloured felt. I then folded the large pieces in half to form the eyebrows/ears.

Then stitch and/or glue the buttons and felt in place and...
you should end up with your own charachter!
(Hope he/she isn't quite as serious as Oswald!!!)
Unfortunately, Oswald is a little too serious for us and he is looking for a more studious home where he can share in intelligent conversation and debate... if you can't live without him, you can buy him from my Folksy shop... just follow this link


No comments:
Post a Comment